Finally the photos are done ....the conservatory makeover is complete. This well used garden room was transformed from a relaxing sitting room into a romantic booth filled with the flickering candle light reflecting from every pane of glass and the warm creamy scent of the strawberry and cream candy candle filling the room with comfort and deliciousness!
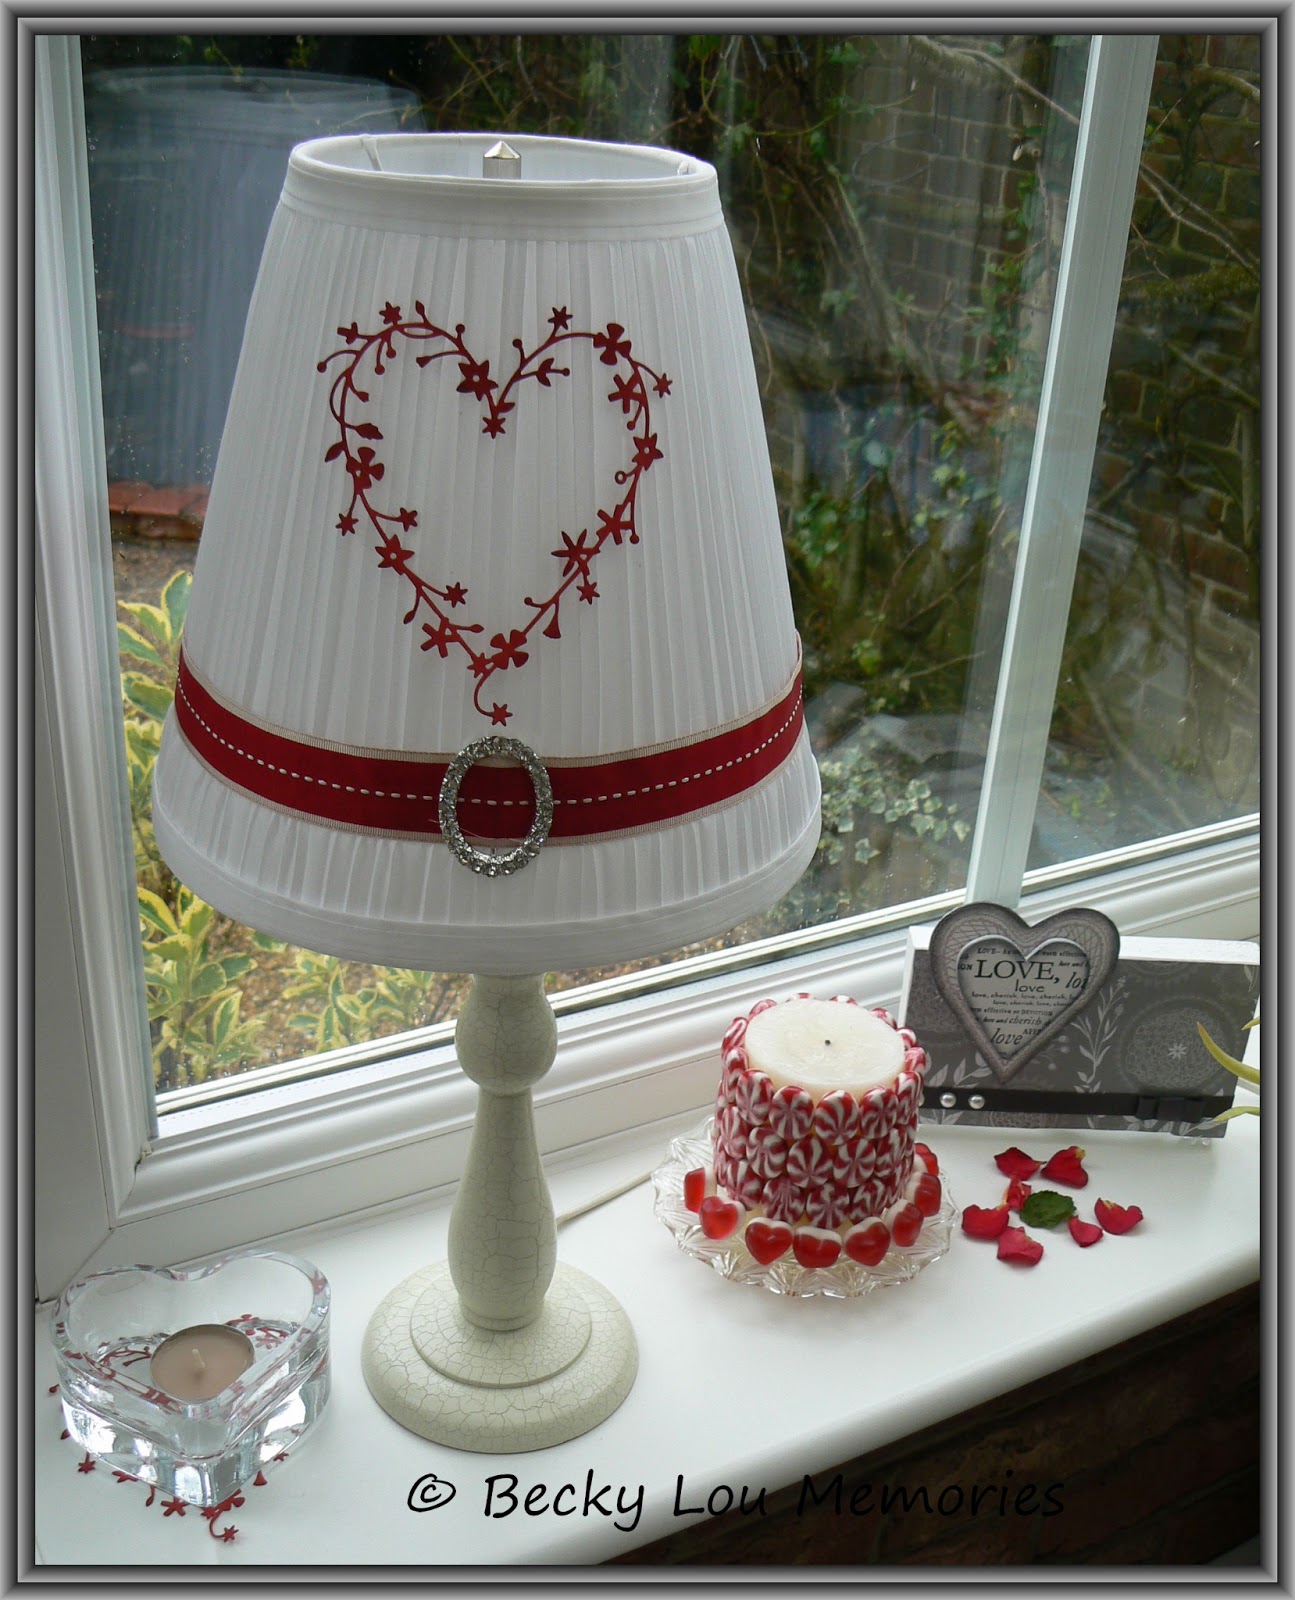
As you know, I love to recycle and up-cycle as much as possible and I must say this has been a real pleasure to create....90 percent of the items in this room are pre-loved and were purchased from boot sales, flea markets and charity shops for very little money..(boot sale items...the table, the shutters...charity shop items...some candles, all of the glass dishes, cake stand and vases, the chalkboard, china vases, lamp and light shade, the topiary tree...the cushions...the throw) which goes to show it doesn't have to cost the earth to brighten a room in your home.
Firstly I would like to thank the contributors from the Craft Club for their beautiful hand crafted items and I will introduce them as we journey through the room with the photos below:
Another big thank you to Jane Tyler for the stunning Glass iridescent heart above
which is beautifully crafted with much skill and precision and fitted
perfectly above the birch twiggy wreath.
Thank you Wendy, Holly, Maureen, and Tricia volunteering a heart for the tree.
I created this reflective heart using the tiffany stained glass method and the mirror only coast re £1 from a boot sale and I only used a quarter of it!
Loving the leather hearts die cut using a sizzix thick die and an old leather belt which was being thrown out as the buckle had broken off. The filigree heart is card with a crafty makeover.
I knew those lovely old lace doilies picked up from the boot sale in the summer last year would come in handy... stiffened with PVA glue then moulded around a bowl and left to dry...who'd have thought it...a pretty lace bowl with a couple of crochet hearts decorated with the pinflair method as time was short.
Click here for the
TUTORIAL of this book.
This is my year book, waiting to be filled with memories and photos of our year together. It is all too easy to forget the good times and dwell on the bad and difficult times and it is also useful to remind you what you have and haven't done during the year and ensure you make time for the important things!
A big thank you to Tricia Potter for making the pinks heart canvass, the punched flower heart, the tissue box (all above) and the yummy chocolate cakes. You are a star!
My dad was a little bewildered when I clocked a rather appealing bit of wood nestled in the grate ready to be burned...and asked if I could have it...this was destined to be a photo block and I just need to add my black and white photo on the right side and another on the reverse which is also decorated. This project will be featured in detail in due course.
I created a gift bag (above) for our special bottle of wine, from an unwanted fingerless glove and finished it with a felt base and some shimmery thread embroidery. The heart shaped gift tag and silver ribbon completed the look.
Thank you Maureen Weeks for the black and red heart decoration below, I will of course bring the decoration forward when I light the candles...health and safety first!
Mine and my husbands parents are always in our thoughts and I felt it fitting to have their wedding photos on display for our valentine celebration...the antique photo frame came from a house clearance store and cost £10
The red felt t-light holder started life as a gift bag which cost 50p ....project to follow.
My heart shaped mini album started life as packaging, a jeans shop label, an old gold earing and a freebie love stencil from a magazine...soon it will be filled with photos of our Valentine evening!!!
My coloured water filled glasses add interest and sparkle to the table and the floating Tea light candles will reflect off the water and glass once lit. Simply frost glass rims by dipping in egg white then in sugar then carefully pour in the coloured water from a jug with a good pouring spout without disturbing the sugar. Remove the tea light from the foil outer covering and gently lower into the water being careful not to submerge.
All the materials in this pretty fabric heart are recycled and include a set of cream curtains and shirt buttons.
A big thank you to Jan Britton for making this beautiful paper pose wreath and helping to revamp the chalk board, the wicker hearts and helping me with the bunting.
Thank you Theresa Kenelly for the amazing cross stitch "home sweet home" picture. It is absolutely beautiful and must have taken a lot of hard work to create.
....and how it looked at night....
Sorry the photos are no so good at night...I must improve my night time shots!
I hope you like the makeover and hopefully this will be the first of many.